Owl Nail Art Tutorial
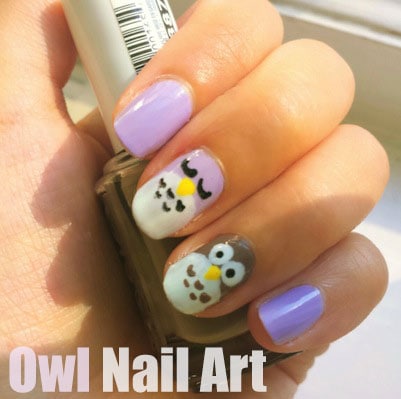
For this week’s nail art post, I came up with the idea of doing owl nails, since a lot of readers enjoyed my past tutorials featuring animals or other characters. Owls have become a really popular animal in the past few years, even making appearances on items like necklaces and graphic shirts. I know some people find owls a bit haunting (those eyes!), but these animated versions are oh-so cute and adorably likeable.
Believe it or not, this is a very simple design to execute, so you don’t need a lot of skill or precision to do owl nail art! It actually follows the general techniques in the Totorro nail art I did, so it’s not too challenging – promise.
Read on for our owl nail art tutorial:
Table of Contents
What You’ll Need:
- A lilac polish – I used Sally Hansen Xtreme Wear’s Lacey Lilac
- A taupe/brown polish – Essie’s Glamour Purse
- A white polish – mine was China Glaze’s White on White
- A black polish, or black black nail art pen
- A dotting tool or toothpick
Step 1:
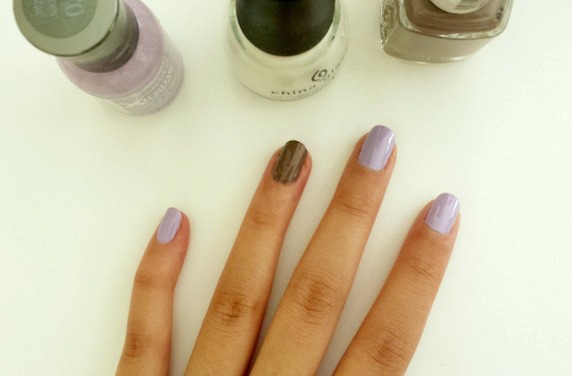
Paint on all your base colors – I did an accent nail in brown. I decided to paint on two owls and decided to keep the second one the same color as the rest of my nails.
Step 2:
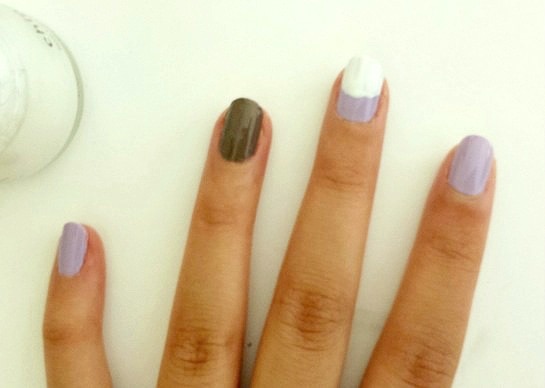
Once that’s dried, paint a half circle on whichever nail(s) you want your owl to be on, as shown above.

In my case, I chose my ring finger and middle finger. I did both of them at once rather than working one nail at a time. That way, I could let one dry while working on the other. Also, don’t worry about making the edges look perfect – they don’t have to be!
Step 3:

Starting with the ring finger, dot two eyes using a dotting tool. If you don’t have one that’s large enough, pick up a big blob of polish and stipple it in a circular motion to create a larger circle.