Quick DIY Metallic Nail Art Tutorial | Outfit Trends
Metallic Nail Art Tutorial – Creating a show-stopping metallic nail look can be tricky, however, you can easily create the perfect look just by following this tutorial. The metallic nail trend has gained immense popularity in recent times, especially among young girls. These nails are perfectly suited for night functions where it gives a shiny and glowing look. We saw on different forums that a lot of girls are confused about this new trend, asking how to easily make metallic nails and how metallic nails can be done at home. Well, here we bring the simple and easy tutorial to make metallic nails yourself. Just follow this step-by-step tutorial and you can make it easier.
How To DIY Metallic Nails?
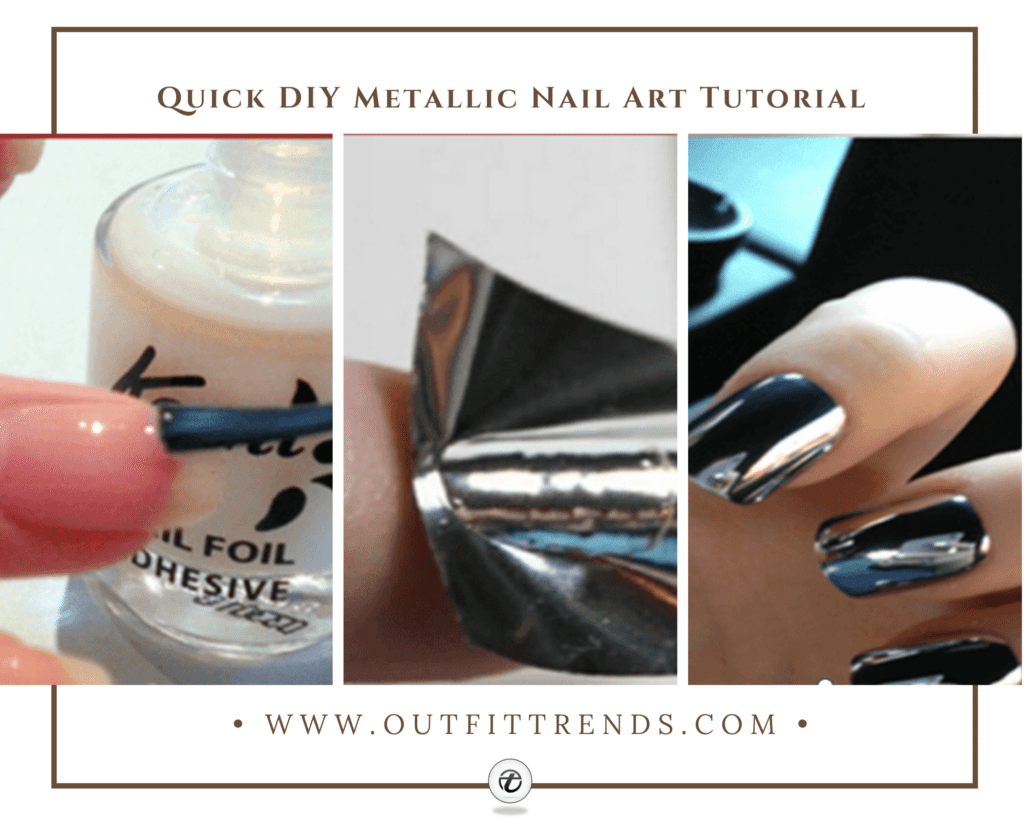
There are so many funky nail art designs to choose from, you can make any metallic color nails you want. For a foil metallic look, all you need is a foil of any color, foil glue, top & base coat nail polish, and a q-tip to clean any mistakes that you might make. There are other options that you can opt for including shimmery metallic nail polish, Sephora magnetic nail polish, OPI chrome nail polish, etc. Silver metallic nails have been the hottest trend because of their natural color shine. New metallic nail trends include purple nails, and golden and green metallic nails. This tutorial will teach you how to apply metallic foil to get the perfect metallic nails.

Tips For Perfect Nail Art
Before you start with this super fun DIY, you must remember that you might not achieve perfection in the very first attempt, like any other form of art, this too needs some time and work to reach a certain level of perfection. However, this tutorial will help you get there by taking you through each step with all the necessary details. Now, that we’re ready to dive into the tutorial, the first and foremost thing that we recommend is that you cut selected foils at once and have them ready for you, here are some other helpful tips and tricks for you to follow.


