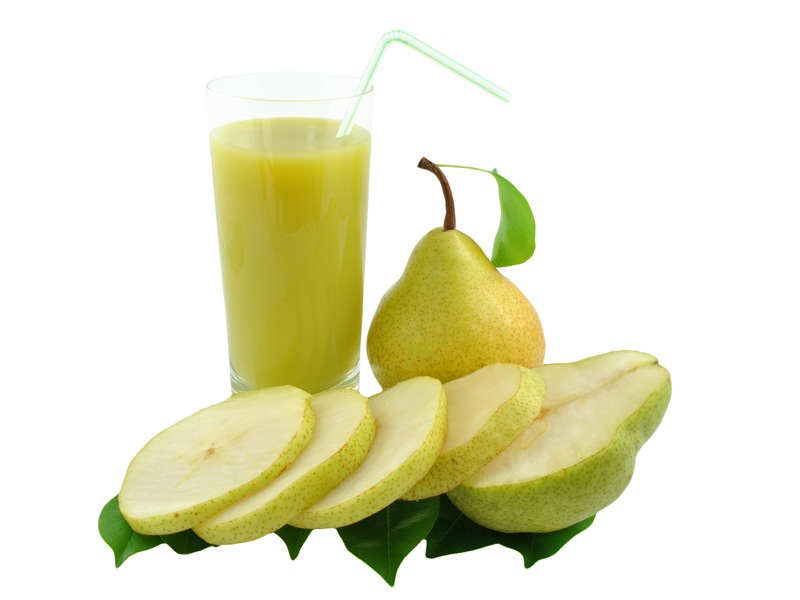
How to Make Pear Juice and It’s Benefits
The world today is taking an initiative to live amongst the nature and blend in with itself. The frequent Tropicana adverts, the soaps and the mineral waters, all have in the past claimed in their ads about how blending in with the nature and taking shelter under the organic natural resources would definitely bring us back to the time when nature was the only means to survival. With modernization, the world has set itself into a mission to find and clone all the natural items, so when it came to fruit juices, the original juices were fermented to make beer and wine while there were artificial colors and flavors giving us sweet strawberry juices from a soda machine.
Today in this article, we again go all in with the natural aspect intact where we are trying to showcase the benefit and making of this one important fruit that not many has had a chance to acquaint themselves with. It is called the pear and today we talk about all the ways pear in its juice form can benefit us in our daily health and beauty care. But before we start with the benefits, it is important that we know how to make pear juice from fresh pears.

What Is A Pear Fruit?
Pear fruit is also called Nashpati and is one of the oldest cultivated fruits in the world. It grows in temperate climates and is known for its high fibre, low calorie sweet goodness. They are hypoallergic and eating them regularly can boost our immune system.
Nutritional Value Of Pear:
Each medium sized pear fruit provides
- 24% Of Dietary Fibre
- 10% Vitamin C
- 10% Vitamin K
- 2% Calcium
- Small amounts of Iron, Magnesium, Riboflavin, Vitamin B6 and Folate.
Homemade Pear Juice Recipe:
The following procedure explains the preparation of Pear Juice at home:
- To start off with the juicing process start by washing the fruit properly. Usually the fruit displayed in the mini mart racks or on the street stalls are exposed to a lot of germs and pollution and mixing that in your juice is not a good idea. This is applicable not only for pears but also for every other fruit that we pick up from the stalls or display cases.
- Now peel the outer cover. Not only will it help you keep your fruit safe and healthy but will also help you in the juicing process. Cut the fruits into small cubes, but not too small. Usually three slices of each pear will do.
- Prior to the juicing process, as you cut the fruit, make sure you have scooped the seeds out.
- Now in a boiling pan of water, plop the pears in and wait for the water to get concentrated. Make sure the water is appropriate in amount, maybe two or three cups. If you have a diabetes patient in your house, avoid the next step.
- You may add sugar or syrup, just a little bit of it for some taste.
- Don’t wait too long in the boiling pan else the pears will start molding. As soon as the water starts getting concentrated, sieve the water and put the rest of the pear in the mixer grinder or preferably a juicer.
- Once the pears get juiced or blended in, you will be left with a thick blob of residue and it is here that you add the boiling pan of water to dilute the consistency.
- Adding simple water would destroy the concentration so at times grape or apple juice helps too.
See More: How To Prepare Grape Juice


