DIY Tutorial: Artsy & Bold Butterfly Heels
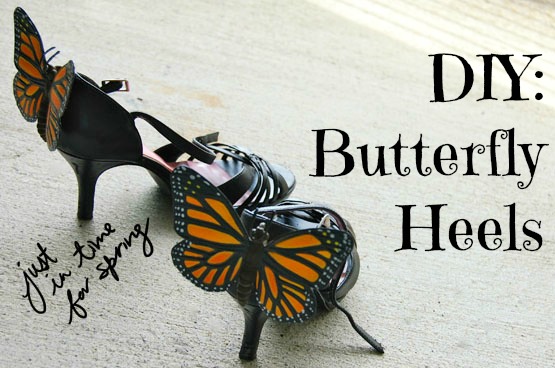
Today’s DIY will celebrate all that is fun and wonderful about spring into a pair of gorgeous heels. I decided to upcycle these old “prom-y” shoes (I wore them to my 8th grade graduation dance… that was 7 years ago!) and turn them into something modern and artful with a high-fashion flair.
Read on to see how to create your own pair of butterfly heels:
Table of Contents
Materials
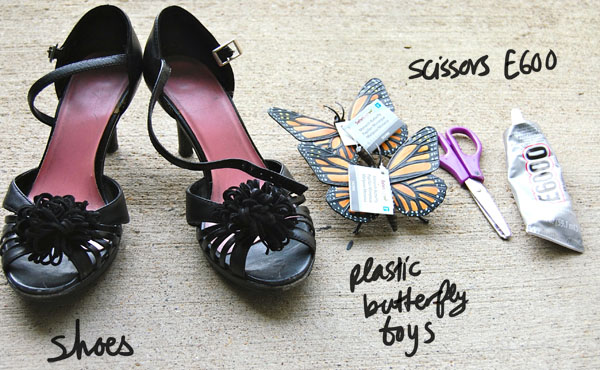
- Large plastic butterfly toys
- Pumps – upcycle a pair you don’t wear too often!
- E600 or other industrial strength glue
- Craft scissors
Step One*
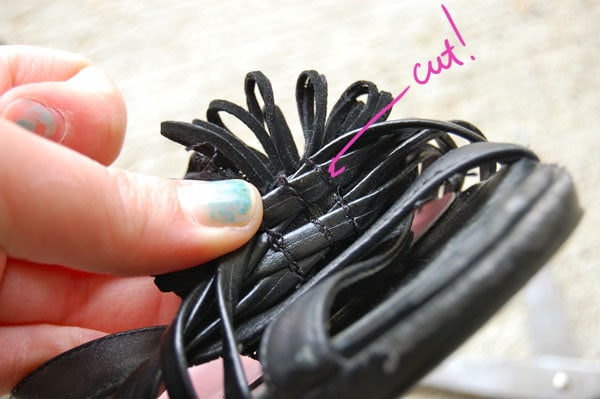
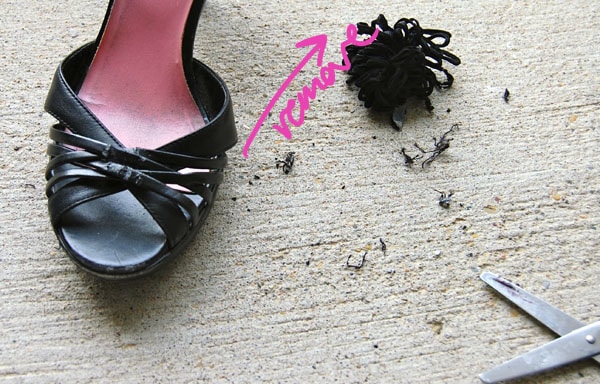
I first decided to rid my shoes of any unnecessary details. There’s this weird ribbon poof thing at the front of my shoe, so I simply cut it off.
*This step can be skipped if you’re working with a plain/non-embellished pair of heels. If you do this step, you’ll notice that the removed portion will be a little beat up. I used black nail polish to “repair” this section.
Step Two
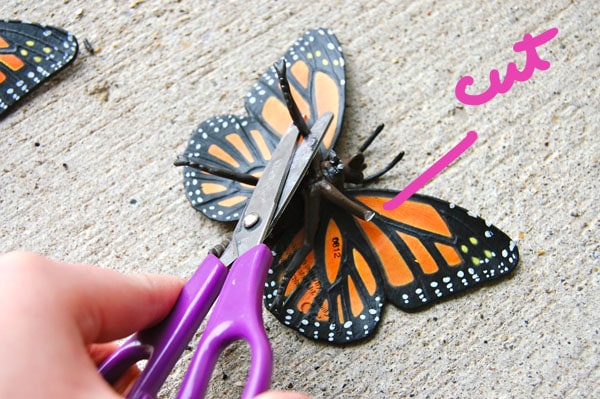
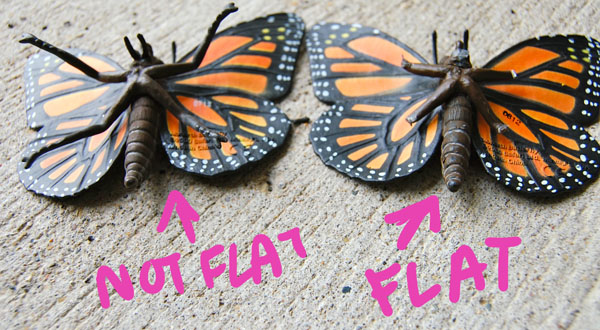
You want to make sure that the surface of the butterfly toy you’re using is as flat as possible, so cut off any extra “appendages.” (Sorry, plastic butterfly!)
*Optional Step
Feel free to change the color of the butterfly: you can make it more glitzy by spray painting it metallic gold or make it more festive with a neon pink! I love monarch butterflies, so I left it as is.
Step Three
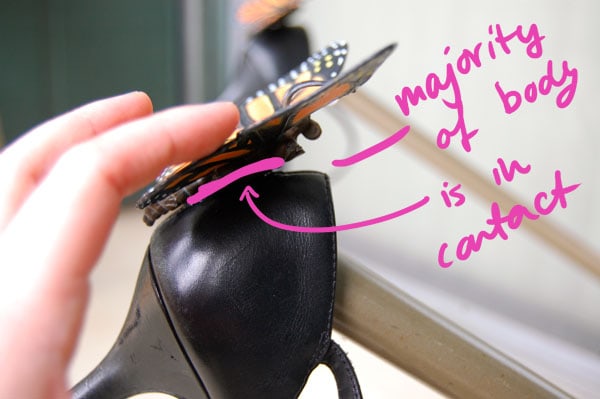
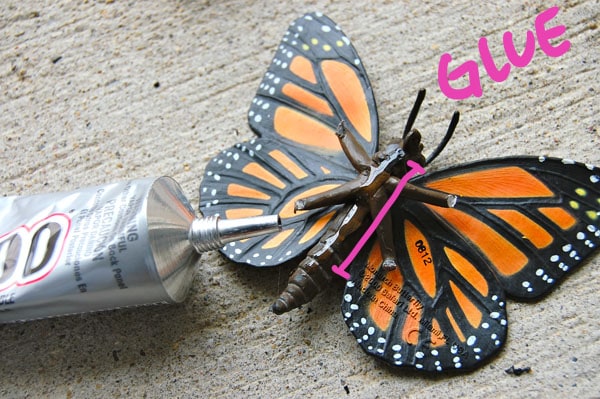
Position the butterfly onto the exact middle of the back of the shoe so that the majority of the body is in contact with the shoe.
Make note of how much of the body this is, then squeeze a line of E600 onto this area. Firmly press the butterfly down back to this position, and hold the butterfly in place for a few minutes.
Step Four
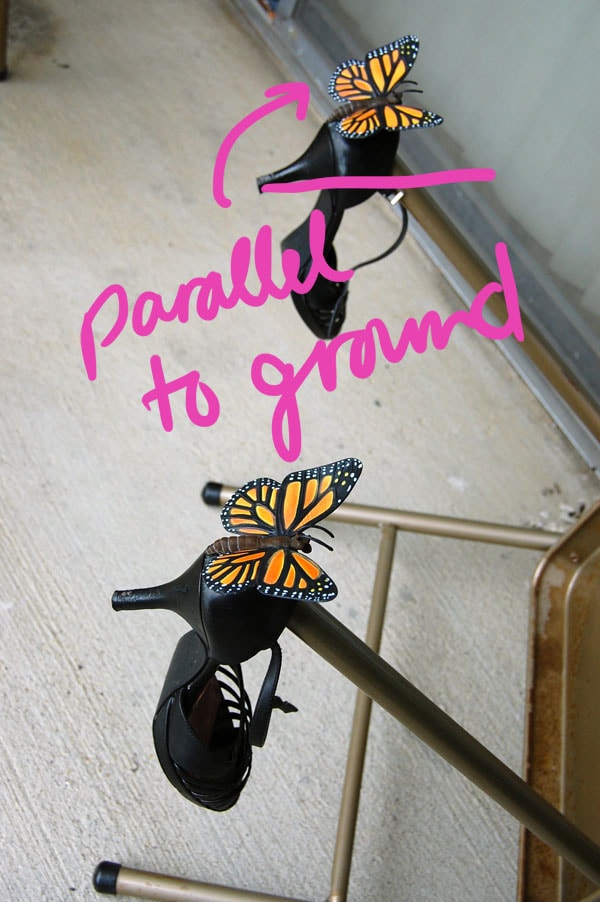
Let dry. Make sure that the “drying” position that you put the shoe in allows the butterfly to be parallel to the ground, or else it’ll fall off or the position will be skewed. I actually hooked the back of the shoe onto the legs of a folding-chair flipped sideways.


