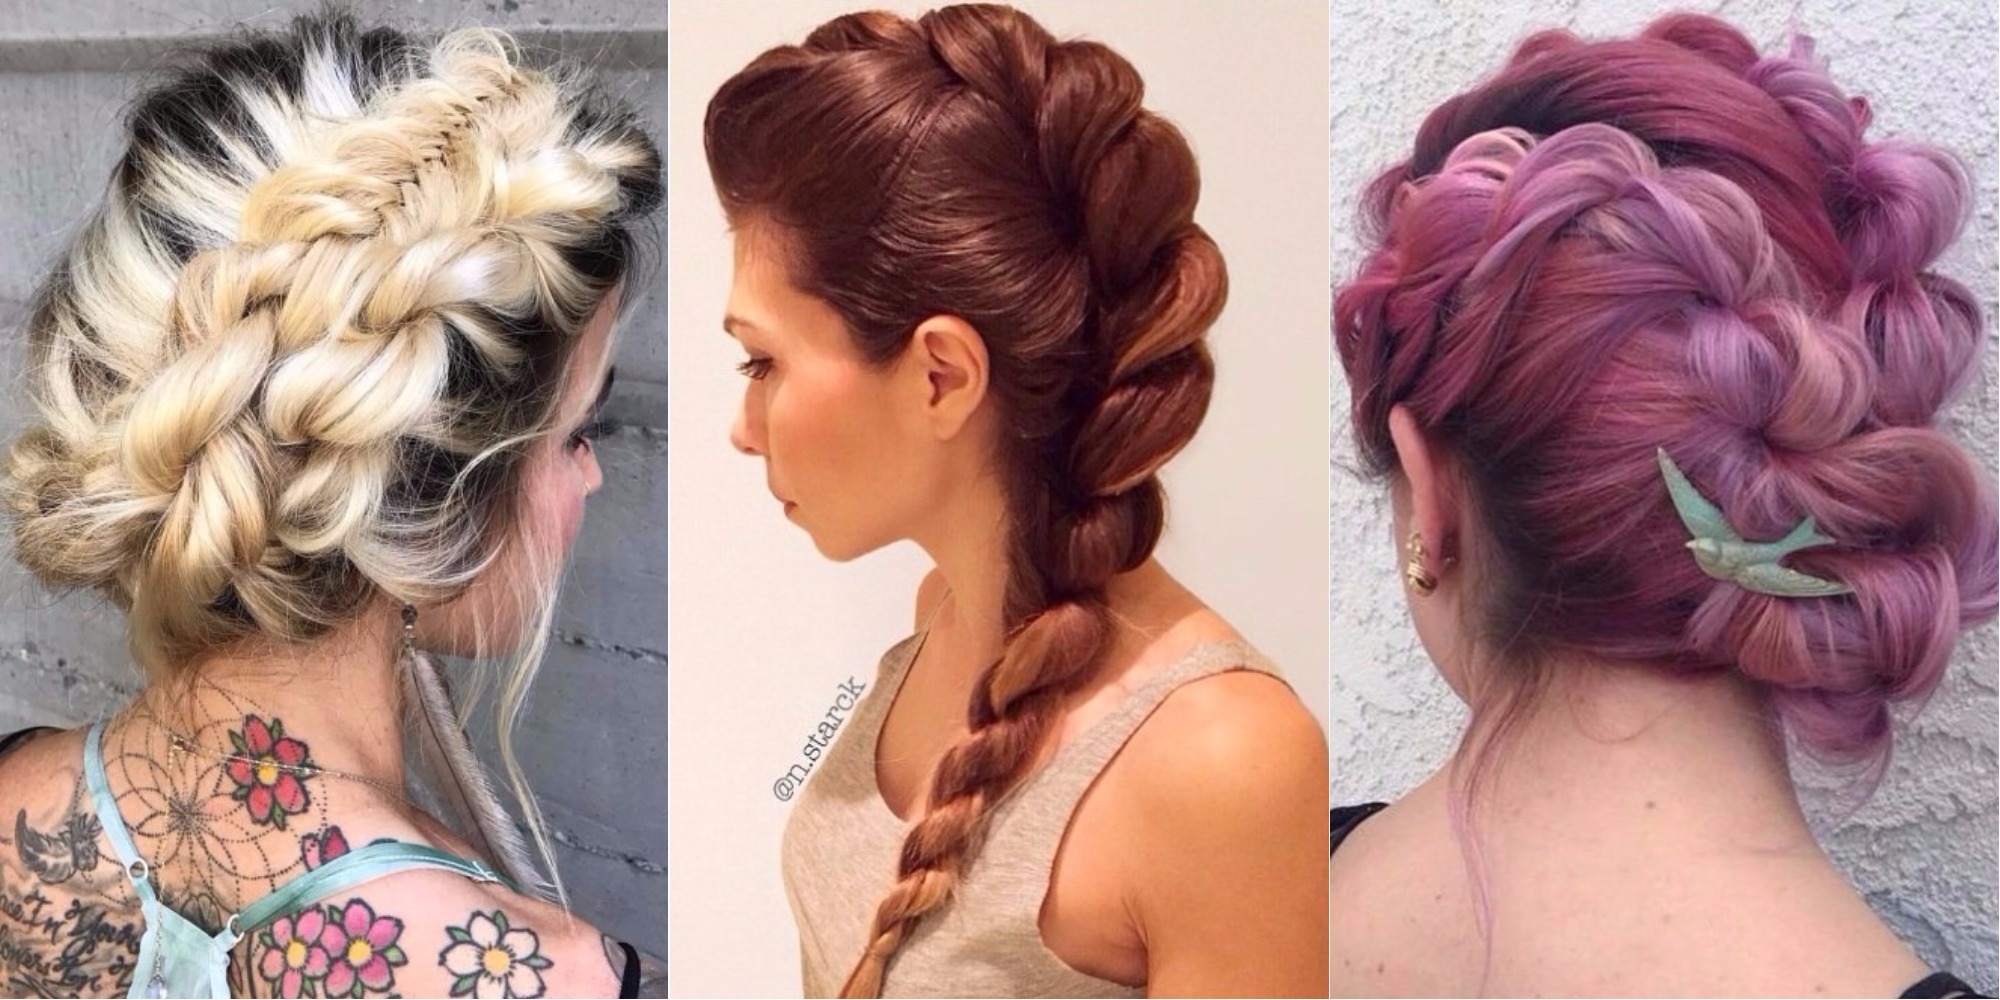
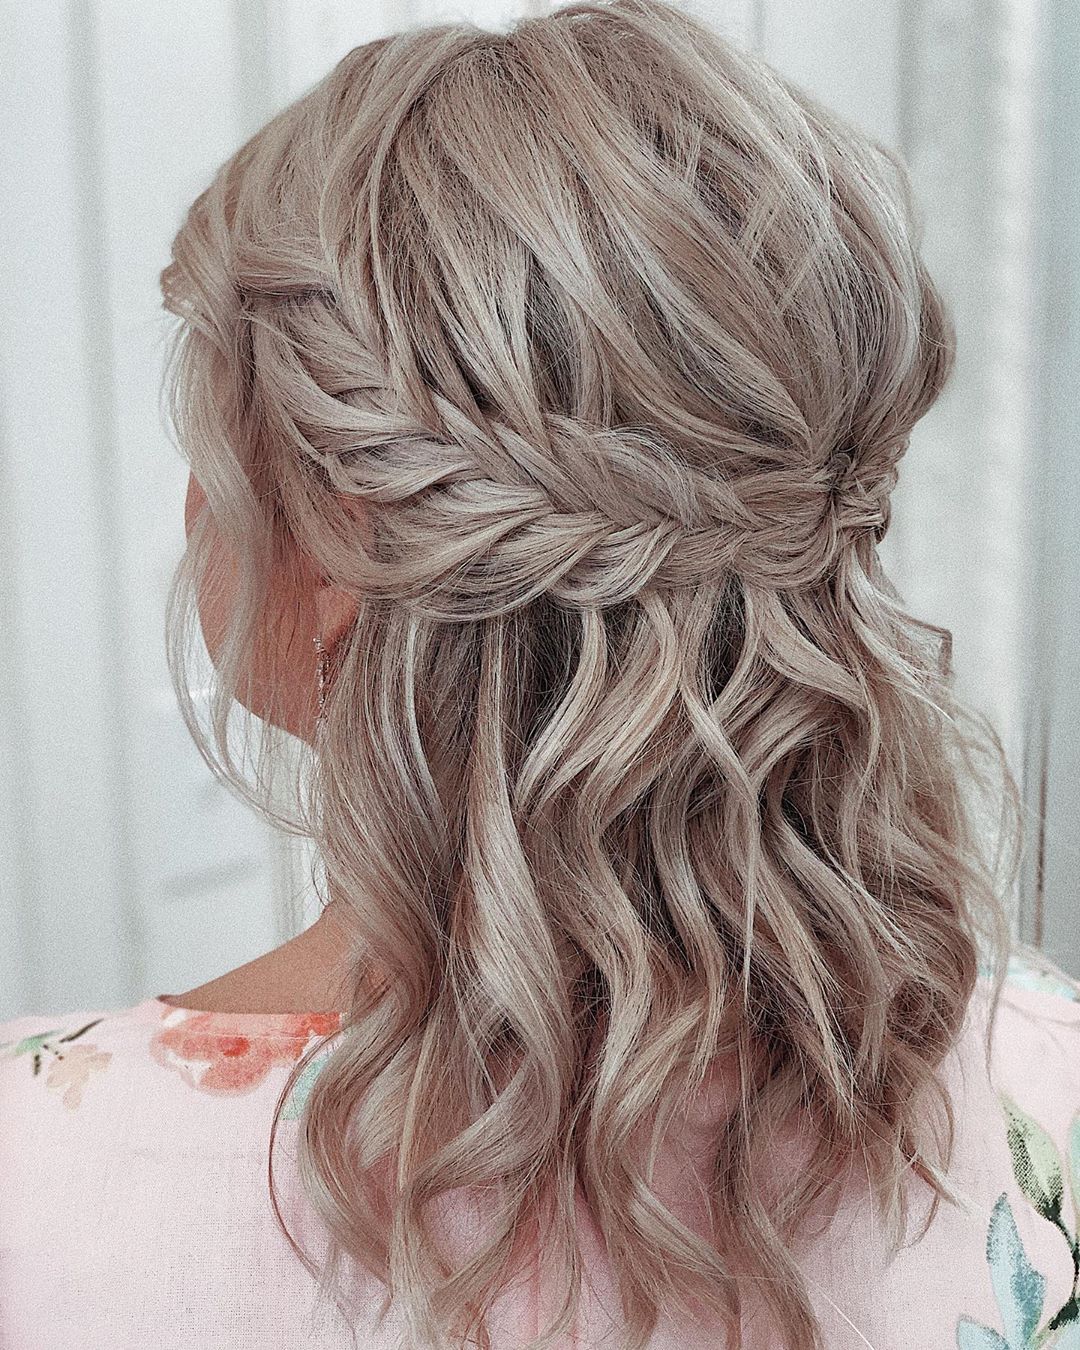
 Get the Tutorial From Missy Sue!
#26: Subtle Side Braid
Here’s a simple braided headband tutorial that’s easy enough to learn on the first try. The trick is in strategically parting the hair in directions that deliver the biggest effect. Leave some side bangs in the front while combing back one side of the hair. Braid, starting at the part towards the ear, securing in place as you go. Curl your hair to soften up the style.
 Get the Tutorial From Manouvelle Mode!
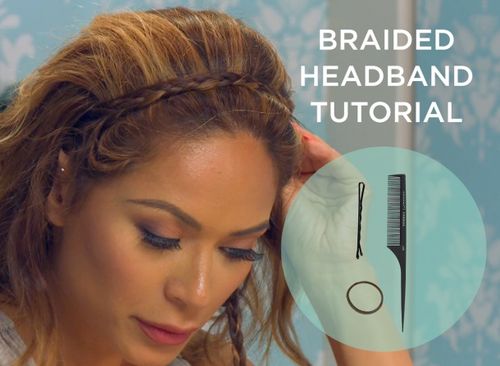
#27: Thin Braided Headband Tutorial
For this look, all you need is a comb, hairpin and thin elastic. Take a thin section of hair and braid it, continuing the style by wrapping it across the head into a headband braid. Use a hair elastic and secure with a pin to hold the ends of the braid together throughout the day.
 Get the Tutorial From ModaMob!
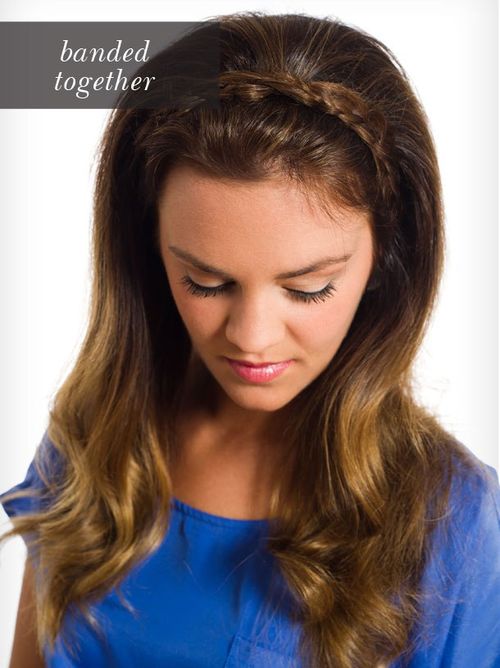
#28: Banded Together
Using one thick braid or two thinner ones, this simple headband style allows hair to be up and out of the face without having to resort to a bun or ponytail. Fun and feminine, this style works on all hair types and lengths – if your hair isn’t long enough to go across the head, combine two braids that meet in the middle.
 Get the Tutorial From Camille Styles!
#29: Headband Braid with Body
Tease the top underneath hair to bring body and boost to your braided look. Wrap two braids across the top of your head, bringing them forward enough to allow the “puff” of top hair to be the focal point. Then, either allow your locks to flow free or braid them together for a gorgeous Roman goddess-inspired style.
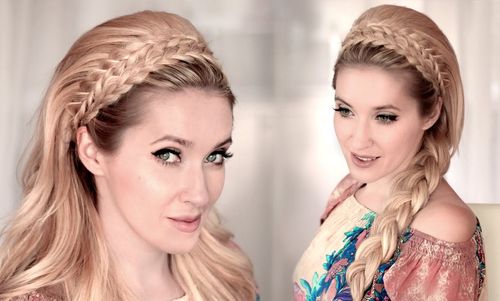 Get the Tutorial From Lilith Moon!
#30: Sweet and Simple Braided Hair Headband
You won’t need a step by step guide to successfully pull off this style on the first try. Simply braid or twist one side strand and pin it across – allowing bangs, curls and top hair to flow free. This looks absolutely stunning on long hair.
RELATED BEST 10 ON AMAZON:
| IMAGE | TITLE | TRENDS | SEE MORE |
|---|
 | 6 Pieces Beaded Hair Headbands Fashion Double Bangs Hairstyle Hairpin Headband Double Layer Twist Plait Braided Headband E... | 1197 | MORE VIEW |
|---|
 | STHEJFB Bohemian Braided Headband Oversized Strand Wig Classic Thick Braided Wide Braid Elastic Synthetic Wig Headband Bra... | 236.5 | MORE VIEW |
|---|
 | 4 Pcs Rhinestone Fashion Headbands Double Bangs Hairstyle Hairpin Headbands, Double Layer Twist Headbands Headband with Cl... | 140.6 | MORE VIEW |
|---|
 | Headbands for Women Head bands with Braided Hair Clips for Girls Thin Plastic Headband with Clips, Fashion Braided Headban... | 5439 | MORE VIEW |
|---|
 | 6 Pieces Double Bangs Hairstyle Hairpin Headband Double Layer Twist Plait Headband Korean Braided Headbands with Clips Hol... | 117.8 | MORE VIEW |
|---|
 | Double Bangs Hairstyle Hairpin Headband Korean Braided Headbands for Women Double Layer Twist Plait Headband Hair Tools Mu... | 6181.2 | MORE VIEW |
|---|
 | Girls Double Bangs Hairpin, Double-Layer Twisted Headband Hair Accessories, Multi-Layer Hollow Woven Headband Hairpin, Fas... | 28 | MORE VIEW |
|---|
 | 6 Pieces Women Braided Headband Wide Twisted Knotted Headband Weaving Shape Headband Vintage Twisted Knotted Hairband Hair... | 1600 | MORE VIEW |
|---|
 | Huachi Headbands for Women Twist Knotted Boho Stretchy Hair Bands for Girls Criss Cross Turban Plain Headwrap Yoga Workout... | 65248.2 | MORE VIEW |
|---|
 | BunzeeBands Adjustable Length Hairband | Long Cushioned Headband Ties for Women with Thick, Braided, Kinky, Curly, Natural... | 24440.1 | MORE VIEW |
|---|
 | 20 Pack Boho Headbands for Women,Ahoney Knotted Hair Band Elastic Headband Fashion Twisted Head Wrap Floral Bandeau Headba... | 23267.3 | MORE VIEW |
|---|
 | Sponsored Ad - BOGSEA Wig with Bangs Ombre Dark Blonde Wig Long Wavy Wigs for Women Synthetic Wavy Dark Blonde Wigs Heat R... | 19308.9 | MORE VIEW |
|---|
 | Teenitor Rhinestone Beaded Elastic Headband, Fashionable Handmade Crystal Beaded Elastic hairbands Lady Women Girls Hair J... | 16189.5 | MORE VIEW |
|---|
 | Sponsored Ad - Kleravitex 2.75" BLACK Jumbo Bobby Hair Pins - Black Tipped Flat Style Pins for Women - Perfect For Rollers... | 14476.5 | MORE VIEW |
|---|
 | Sponsored Ad - MTLEE 6 Pieces Beaded Hair Hoop Headband, Multiple color, 1.83 Count (Classic Colors) | 12057.2 | MORE VIEW |
|---|
 | Sponsored Ad - DIGUAN Synthetic Hair Braided Headband Classic Chunky Wide Plaited Braids Elastic Stretch Hairpiece Women G... | 10736 | MORE VIEW |
|---|
 | Sponsored Ad - DIGUAN Synthetic Hair Braided Headband Classic Chunky Wide Plaited Braids Elastic Stretch Hairpiece Women G... | 10736 | MORE VIEW |
|---|
 | Vemalo Wide Headbands for Women, Boho Bandeau Head Bands, Workout Head Wraps, Stretch No Slip Hair Wraps Pack of 4 (Stylish) | 8827.4 | MORE VIEW |
|---|
Tips: "Amazon, Amazon Prime, the Amazon logo and Amazon Prime logo are trademarks of Amazon.com, Inc. or its affiliates". AS AN AMAZON ASSOCIATE, WE EARN AFFILIATE COMMISSIONS FROM QUALIFYING PURCHASES.
 Get the Tutorial From Missy Sue!
 Get the Tutorial From Manouvelle Mode!
 Get the Tutorial From ModaMob!
 Get the Tutorial From Camille Styles!
 Get the Tutorial From Lilith Moon!


