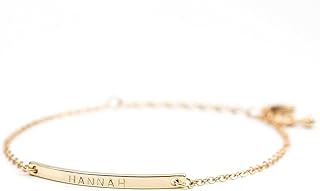
DIY: Upcycling a Necklace into a Panja Ring-Bracelet

My style changes. A lot. The same charm necklace I fell in love few years ago now sits in the corner of my jewelry box, gathering dust. For today’s DIY, I decided to transform a simple necklace into something über trendy: a panja.
But pray tell, what is a panja? They go by a lot of different names, though most would recognize it as a ring-bracelet combo (because that’s what it actually is!). It also goes by many other names, like a hand harness, armor bracelet, or hand flower. Now that you know what a panja is, I’m going to show you a super-easy way to DIY one – let’s get to it:
Table of Contents
Materials
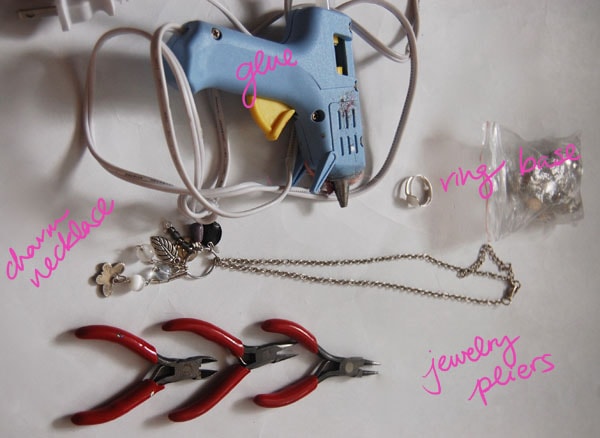
- Simple charm necklace (look for one with multiple small charms)
- Jewelry pliers (the essential three, shown from left to right: wire-cutters, flat-nose, round-nose)
- Ring base
- Strong glue (I used a glue gun, but crazy glue or E-6000 works too.)
Step One:
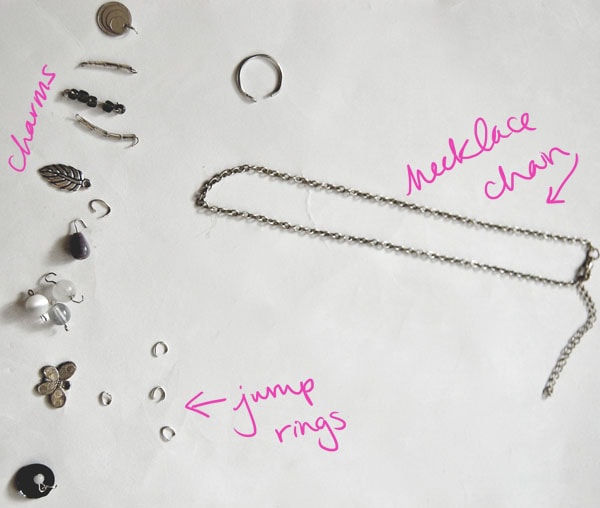
Using your jewelry pliers, completely disassemble the necklace. Most jewelry charms are connected to the necklace chain with jump rings (little wire circles), which can be easily be opened (as shown below) by gripping one end with round-nose pliers, and prying it open on the other end with flat-nose pliers. The same motion is used to close them.

Step Two:
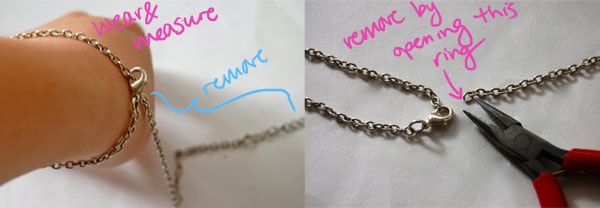
Wrap the now-charmless necklace chain around your wrist and secure the clasp so that the chain fits somewhat loosely. Using your pliers, detach and remove the rest of the chain. My jewelry chain was comprised of larger chain links, so I could simply remove them by opening up the jump rings (see step one). Thinner and/or finer chains can be cut with wire-cutters.
Step Three:
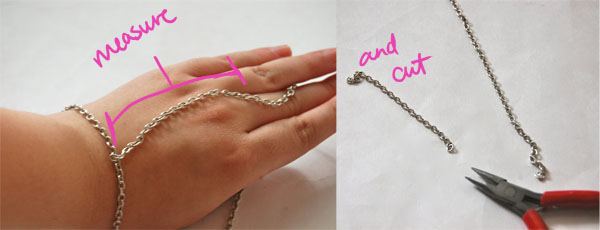
Drape the rest of the chain onto your hand. Measure a length of chain from the bracelet to around the base of your finger. Again, detach this from the rest of the chain.


